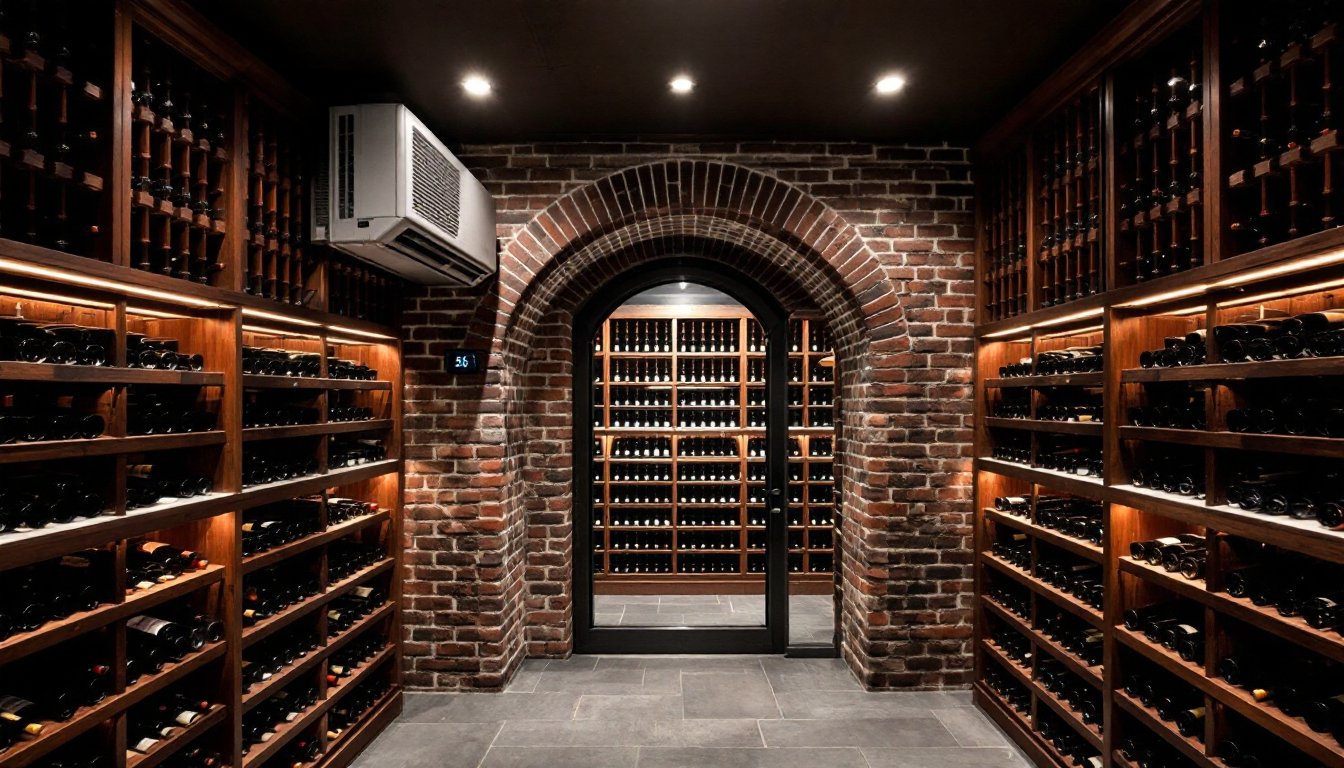
Serious wine collectors know that a basement corner or closet won’t cut it for long-term storage. Wine needs consistent temperature, proper humidity, and minimal vibration, conditions most homes can’t maintain without dedicated refrigeration. A wine cellar split system offers the most reliable climate control for collections ranging from a few hundred bottles to several thousand. Unlike self-contained through-wall units, split systems separate the noisy compressor from the cellar itself, delivering quieter operation and more precise environmental control. For anyone building or upgrading a wine cellar in 2026, understanding how these systems work and how to size them correctly can mean the difference between a well-preserved collection and expensive vinegar.
Key Takeaways
- A wine cellar split system separates the compressor outside the cellar from the evaporator inside, delivering quieter operation (30-40 decibels) and precise temperature control between 55-58°F compared to self-contained units.
- Proper sizing is critical: use the 5-8 BTU per cubic foot rule as a starting point, then add 25-30% capacity for glass doors or windows and unconditioned adjacent spaces to avoid undersizing.
- Split system refrigeration works through continuous low-speed operation with variable-speed compressors and controlled evaporator temperatures, preventing temperature swings that damage corks and maintaining humidity around 60-70%.
- Installation requires professional HVAC expertise for refrigerant line charging, though some systems with pre-charged quick-connect fittings allow homeowners to handle mounting while a technician completes the final connection.
- Unlike standard HVAC systems, wine cellar split systems balance latent and sensible cooling to prevent cork desiccation and enable integrated humidity control, making them the most reliable choice for collections of any size.
What Is a Wine Cellar Split System?
A wine cellar split system is a two-component refrigeration system designed specifically for temperature and humidity control in enclosed wine storage spaces. Unlike a window air conditioner or through-wall unit that houses all components in one box, a split system divides the workload between an evaporator unit (installed inside the cellar) and a condenser unit (mounted outside the cellar, typically in an adjacent mechanical room, garage, or outdoor location).
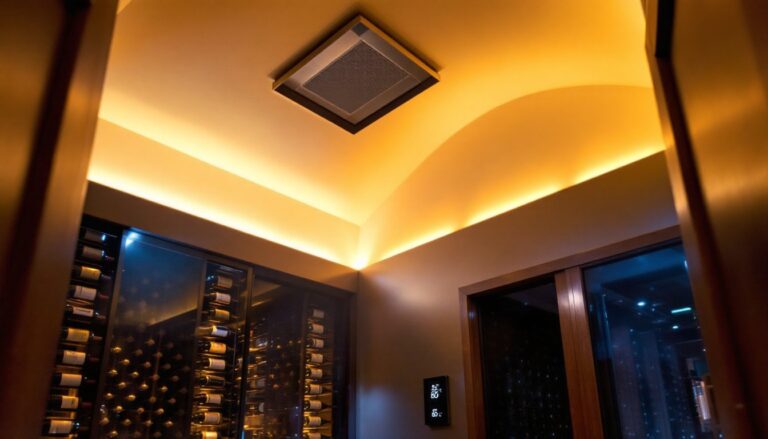
The evaporator, often called the air handler, sits inside the wine cellar and circulates cool air while removing excess heat. It connects to the condenser via insulated refrigerant lines that run through the wall, usually requiring a 3-4 inch penetration for the line set. The condenser houses the compressor, fan, and heat exchanger, which expel the heat removed from the cellar. Because the noisiest components live outside the cellar, split systems run significantly quieter than self-contained units.
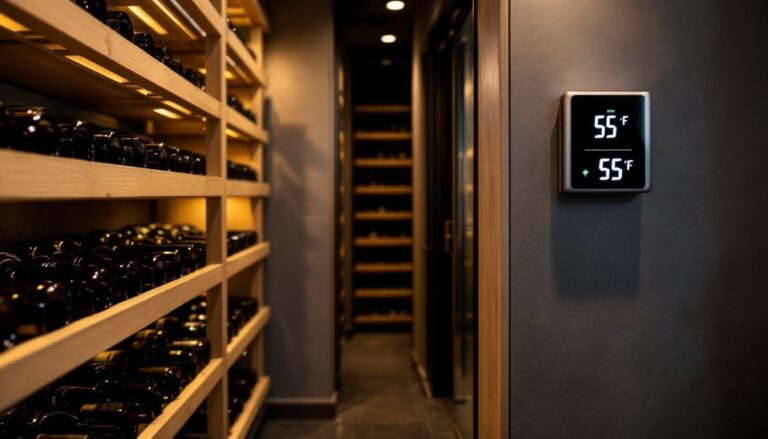
Most wine cellar split systems are engineered to maintain temperatures between 55-58°F and relative humidity levels around 60-70%, the sweet spot for aging wine. Standard HVAC systems can’t achieve this: they cycle on and off too broadly, lack humidity control, and often over-dry the air. Wine-specific units run continuously at lower capacities to avoid temperature swings that can damage corks and accelerate oxidation.
How Split System Refrigeration Works for Wine Storage
The refrigeration cycle in a wine cellar split system works the same way as any vapor-compression system, but it’s tuned for the narrow temperature range wine demands. The process starts when liquid refrigerant (commonly R-410A or newer R-32) enters the evaporator coil inside the cellar. As warm air from the cellar passes over the cold coil, the refrigerant absorbs heat and evaporates into a low-pressure gas.
That gas travels through insulated copper lines to the outdoor condenser unit, where the compressor pressurizes it into a high-temperature, high-pressure gas. The condenser coil then releases that heat to the outside air (or surrounding space), and the refrigerant condenses back into a liquid. An expansion valve meters the liquid refrigerant back to the evaporator, and the cycle repeats.
What makes wine cellar systems different is continuous low-speed operation rather than aggressive on/off cycling. Many models use variable-speed compressors or multi-stage operation to maintain tighter tolerances. The evaporator fan runs constantly at low CFM to ensure even air distribution without creating turbulence that could disturb sediment in bottles stored horizontally.
Humidity control is built into better units. Some systems include a humidistat and onboard humidifier: others rely on controlled evaporator temperatures that prevent excessive dehumidification. If the evaporator coil runs too cold, it pulls moisture out of the air and dries out corks. Quality split systems are designed to balance latent and sensible cooling, keeping the air humid enough to preserve cork integrity without encouraging mold growth.
Key Benefits of Split Systems Over Self-Contained Units
Quieter Operation and Better Aesthetics
The single biggest advantage of a split system is noise reduction. Self-contained through-wall units mount the compressor, condenser fan, and evaporator in one chassis that sits partially inside the cellar. Even the quietest models generate 45-55 decibels, roughly the sound level of a refrigerator, which can be intrusive in a finished basement or tasting room.
Split systems relocate all that noise outside the cellar. The evaporator produces only a gentle hum from the fan motor, typically 30-40 decibels, comparable to a whisper. That makes a tangible difference if the cellar shares a wall with living space or if the homeowner plans to use the cellar for tastings.
Aesthetically, split systems offer more flexibility. The evaporator is a low-profile unit that can be recessed into the ceiling or wall, leaving the cellar’s interior clean and unobstructed. There’s no bulky box protruding into the room and no need to sacrifice valuable racking space. The exterior condenser can be tucked into a mechanical closet, mounted on an exterior wall, or placed on a roof or pad in the yard, wherever it’s least visible and meets code clearances.
Superior Temperature and Humidity Control
Split systems generally provide tighter temperature tolerances than self-contained units. Because the condenser is located in a separate, often climate-controlled or ventilated space, it runs more efficiently and doesn’t heat up the cellar’s surrounding envelope. Self-contained units exhaust heat directly outside the cellar wall, but if that wall is interior or poorly insulated, some heat radiates back, forcing the unit to work harder.
Many split systems also offer dual-zone or proportional control, especially in larger installations. Variable-speed compressors modulate capacity to match the cooling load, reducing temperature swings and energy consumption. This precision matters: even a 5°F swing can alter aging rates and affect wine quality over years of storage.
Humidity control is more consistent with split systems. The evaporator coil temperature can be carefully managed to avoid over-drying, and auxiliary humidifiers integrate more easily. Self-contained units often struggle with humidity in dry climates because their coils run colder and cycle more aggressively, stripping moisture from the air. For cellars in arid regions or heated basements, a split system with active humidity control can be the only practical solution.
Choosing the Right Split System for Your Wine Cellar
Sizing Requirements and BTU Calculations
Proper sizing is critical. An undersized unit runs constantly and never catches up: an oversized unit short-cycles, creates temperature swings, and wastes energy. BTU capacity (British Thermal Units per hour) determines how much heat the system can remove. For wine cellars, sizing depends on cellar volume, insulation quality, glass area, ambient temperature outside the cellar, and desired interior temperature.
A simplified rule of thumb: a well-insulated cellar with minimal glass needs roughly 5-8 BTU per cubic foot of cellar volume to maintain 55-58°F in a 70°F ambient environment. For example, a 10′ x 10′ x 8′ cellar (800 cubic feet) would require approximately 4,000-6,400 BTU. But that’s just a starting point.
Add 25-30% more capacity if the cellar has a glass door or window, because glass transmits far more heat than insulated walls (even dual-pane glass has an R-value around 2, versus R-13+ for insulated walls). Increase capacity further if the adjacent space is unconditioned (garage, attic) or if the cellar is above grade and exposed to direct sunlight.
Most residential wine cellars fall into the 3,000-8,000 BTU range. Manufacturers like CellarPro, WhisperKOOL, and Wine Guardian publish detailed sizing calculators that account for wall area, insulation R-values, door type, and lighting heat load. It’s worth spending 20 minutes with a calculator rather than guessing, undersizing is the most common mistake in DIY cellar projects.
Also consider installation clearances and line set length. Condensers need adequate airflow: most require 12-24 inches of clearance on the intake side and 48-60 inches on the exhaust side. Line sets (the refrigerant lines connecting evaporator and condenser) are typically rated for a maximum length, often 25-50 feet depending on the model. Longer runs reduce efficiency and may require a larger unit or a hard-start kit. Always check the manufacturer’s specifications.
Finally, think about electrical requirements. Most split systems for residential cellars run on 115V or 230V single-phase power. Smaller units (under 5,000 BTU) often use 115V with a 15-20 amp breaker: larger systems need a dedicated 230V circuit. Electrical work should meet NEC (National Electrical Code) requirements, and in many jurisdictions, a licensed electrician must install the disconnect and supply circuit. If the condenser is outdoors, the circuit needs GFCI protection.
Refrigerant line installation is another consideration. In most states, only a licensed HVAC technician can legally run and charge refrigerant lines. Some manufacturers offer pre-charged line sets with quick-connect fittings (often called “mini-split” style), which allow the homeowner to install the lines and mount the units, leaving only the final connection and system check-out to a pro. This can save a few hundred dollars in labor, but it’s not a full DIY job. If in doubt, hire a licensed contractor who specializes in wine cellar installations, experience with these low-temp, high-humidity applications makes a real difference in system performance and longevity.