Building a wine cellar isn’t just about stacking bottles in a basement corner. It’s a precision project that demands controlled temperature, proper humidity, vapor barriers, and structural modifications that can make or break a collection worth thousands. While a dedicated wine enthusiast can handle some cosmetic elements, the mechanical and envelope work typically requires professionals who understand both HVAC principles and building science. This guide walks through what’s involved in a proper wine cellar installation, from site selection and insulation specs to cooling systems and realistic budgets, so homeowners know what to expect before the first stud gets framed.
Key Takeaways
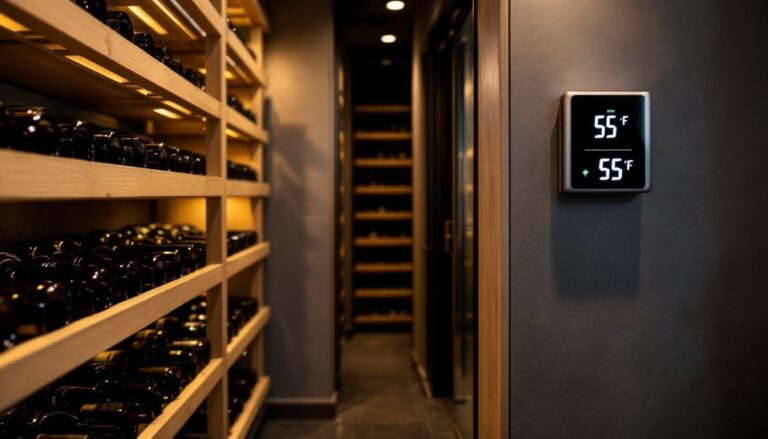
- Professional wine cellar installation ensures precise temperature (55–58°F) and humidity (60–70%) control to prevent cork degradation and premature wine aging.
- Proper vapor barrier placement and insulation specs (R-19 walls, R-30 ceilings) are critical to prevent condensation and mold, making this job best left to experienced professionals.
- Cooling units must be correctly sized using Manual J-style heat load calculations—oversized or undersized systems will cycle inefficiently and fail early.
- Wine cellar location significantly impacts cost and performance: below-grade basements offer natural thermal stability, but waterproofing and drainage must be verified first.
- Budget ranges from $4,000–$7,500 for basic conversions to $30,000–$80,000+ for custom builds, with electrical work, permits, and structural engineering adding time and complexity.
- Racking systems vary from individual bottle storage ($8–$15 per bottle capacity) to case-density bin storage ($4–$8 per bottle capacity), depending on collection style and display preferences.
Why Professional Wine Cellar Installation Matters
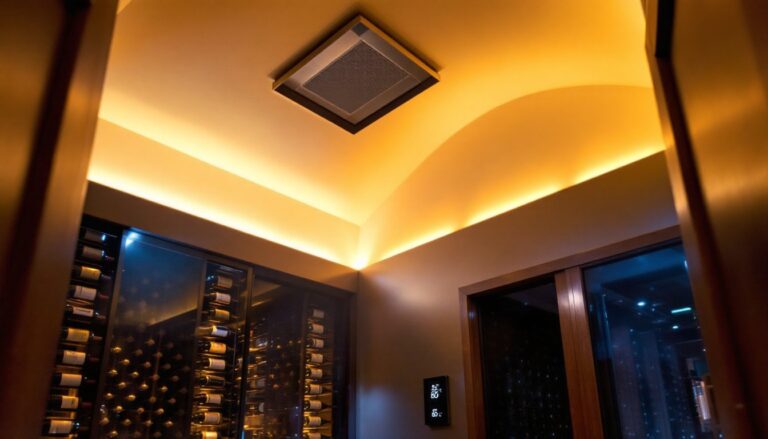
Wine storage operates within narrow environmental parameters: 55–58°F and 60–70% relative humidity. Miss those targets by even a few degrees or percentage points for extended periods, and corks dry out, labels mildew, or wines age prematurely.
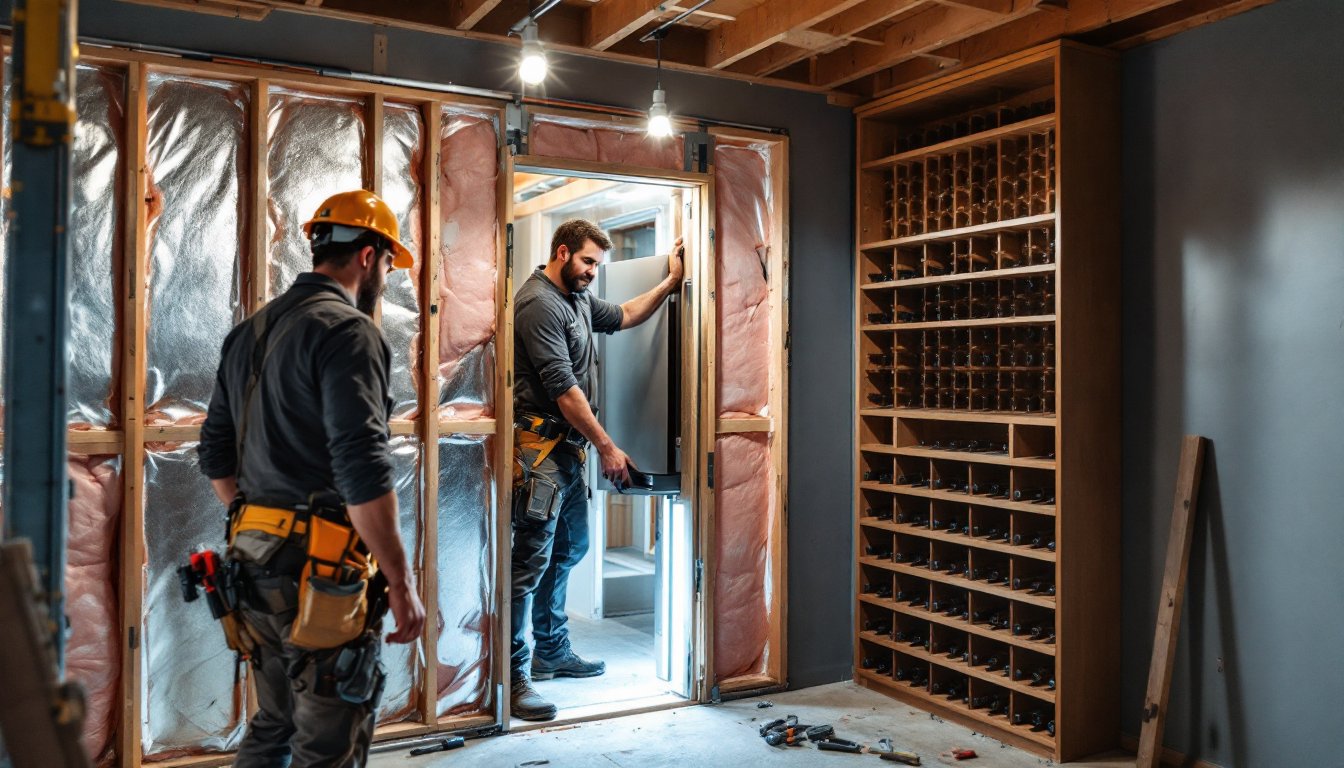
A professional installation ensures the thermal envelope is airtight and properly insulated, typically R-19 in walls and R-30 in ceilings for below-grade spaces, sometimes higher in conditioned basements. DIYers often underestimate vapor barrier placement: installing it on the wrong side of the insulation in a wine cellar (which is a cold space inside a warm building) invites condensation and mold within the wall cavity.
Cooling units designed for wine cellars differ fundamentally from standard HVAC equipment. They’re sized not just for room volume but for infiltration rates, glass exposure, and door openings. Undersized units cycle constantly and fail early. Oversized units short-cycle and can’t dehumidify properly. Professionals calculate heat load using Manual J-style methods adapted for cellar conditions.
Electrical work for dedicated circuits (often 15–20 amps depending on cooling unit draw) and low-voltage controls requires permits in most jurisdictions and should be handled by a licensed electrician familiar with NEC Article 440 for refrigeration equipment.
Finally, structural considerations matter. If converting existing space, load-bearing walls, floor joists, and foundation drainage must be evaluated. Adding 500–1,000 bottles of wine plus racking can add 2,000–4,000 pounds of dead load to a floor system that may not have been designed for it.
Choosing the Right Location for Your Wine Cellar
The ideal wine cellar location minimizes heat gain, vibration, and moisture intrusion while staying accessible enough to actually use.
Below-grade spaces, basements or partially buried areas, offer natural thermal stability. Soil temperatures at 6–8 feet deep hover near 50–55°F year-round in most climates, reducing cooling load. But, basement locations require vigilant waterproofing. Even minor groundwater seepage will spike humidity and damage labels, corks, and finishes.
Check for active water intrusion before committing. Look for efflorescence (white mineral deposits on concrete), spalling (flaking concrete surfaces), or prior water stains. If the foundation isn’t dry, install exterior drainage, a sump pump, or interior drain tile first. Wine cellars and damp basements don’t coexist.
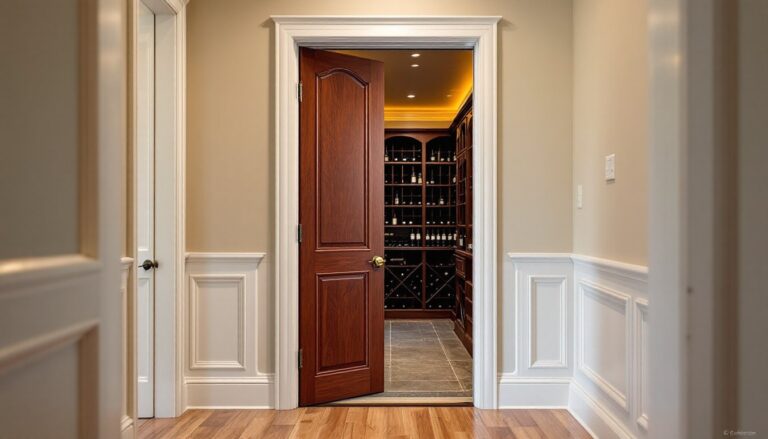
Interior ground-floor spaces work if properly insulated and conditioned. Avoid exterior walls where thermal bridging and sun exposure increase cooling demands. Closets, pantries, or under-stair spaces can be converted if they’re at least 6×8 feet, smaller spaces become impractical for racking layout and access.
Avoid these locations outright:
- Exterior walls with southern or western exposure (excessive heat gain)
- Spaces above garages (temperature swings, vehicle vibration, exhaust fumes)
- Near furnaces, water heaters, or laundry rooms (heat sources interfere with climate control)
- Areas with poor access to electrical service or drainage for condensate lines
Proximity to living spaces matters for two reasons: noise and access. Through-wall cooling units produce 40–55 dB of sound, about the level of a quiet conversation. Locating the cellar adjacent to a bedroom or home office can be disruptive. Conversely, putting it in a remote corner of the basement may mean fewer trips to browse the collection.
Floor structure deserves attention. Standard residential floors are built for 40 pounds per square foot (psf) live load. A full wine cellar can easily exceed this. Consult a structural engineer if installing on a second floor or over a crawl space.
Essential Components of Wine Cellar Installation
Climate Control and Insulation Requirements
The cooling system is the heart of any wine cellar, and there are three main types.
Through-wall (self-contained) units are the most common for residential cellars up to 1,000 cubic feet. They mount in a framed opening, exhausting heat into an adjacent space. The exhaust side must vent into a conditioned area, never a sealed closet, or the unit will overheat and fail. Brands like CellarPro and WhisperKOOL dominate this category, with prices ranging $1,800–$3,500 depending on capacity.
Split systems function like mini-split heat pumps, with an evaporator inside the cellar and a condenser outside or in a mechanical room. They’re quieter and handle larger spaces (up to 2,500 cubic feet) but require a licensed HVAC tech for refrigerant lines and startup. Expect $3,500–$7,000 installed.
Ducted systems integrate with whole-home HVAC but require a dedicated zone and precise control. These work best in large custom cellars (1,500+ bottles) and cost $6,000–$12,000+.
Insulation must create a true thermal break. Use closed-cell spray foam (R-6 per inch) for maximum vapor resistance, or fiberglass batts (R-13 to R-19 in 2×4 or 2×6 walls) with a 6-mil polyethylene vapor barrier installed on the warm side of the wall, critical to preventing condensation.
The ceiling needs R-30 or higher, especially if there’s conditioned space above. Rim joists and any penetrations (electrical, plumbing) must be sealed with spray foam or caulk.
Doors are a weak point. A solid-core wood door loses too much energy. Use an exterior-grade insulated door (steel or fiberglass, R-5 minimum) with weatherstripping and a threshold sweep. Glass doors look stunning but require dual-pane, low-E glass and add significant cooling load, plan accordingly.
Racking Systems and Storage Solutions
Racking layout affects both capacity and usability. Common systems include:
- Individual bottle racking: Each bottle has its own cubby. Offers display appeal and easy access but holds fewer bottles per square foot. Costs $8–$15 per bottle capacity.
- Bin storage: Stacks cases or multiple bottles of the same vintage in open bins. Maximizes density, ideal for collectors who buy by the case. Costs $4–$8 per bottle capacity.
- Modular metal racks: Label-forward, commercial-style racking in powder-coated steel. Modern aesthetic, easy install, mid-range density. Costs $6–$12 per bottle capacity.
Material choice matters. Redwood, mahogany, and sapele resist rot and look traditional but cost more. Pine or poplar are budget options if painted or stained. Avoid MDF or particleboard, they off-gas and degrade in high humidity.
Racking should sit 4–6 inches off the floor to allow airflow and avoid any potential water contact. Leave 3–4 inches between the top rack and ceiling for the same reason.
Most systems are modular and wall-mounted using ledger boards screwed into studs with 3-inch construction screws. Confirm stud locations with a finder, drywall anchors won’t hold the load. For freestanding racks, anchor to the floor if seismic activity is a concern.
Wine Cellar Installation Costs and Timeline
Wine cellar projects vary wildly in cost depending on size, finishes, and whether the space already exists or needs to be built from scratch.
Budget conversions (50–150 bottles, converted closet or small basement room):
- Insulation and vapor barrier: $500–$1,200
- Cooling unit (through-wall): $1,800–$2,800
- Exterior door: $400–$900
- Basic racking (pine or modular metal): $600–$1,500
- Lighting and electrical: $300–$800
- Total: $4,000–$7,500, assuming DIY finish work
Mid-range builds (200–500 bottles, framed addition or dedicated basement room):
- Framing, insulation, drywall: $2,500–$5,000
- Cooling unit (through-wall or small split): $3,000–$5,500
- Insulated glass door: $1,200–$2,500
- Custom wood racking: $3,000–$8,000
- Flooring (tile or luxury vinyl): $800–$2,000
- Electrical, lighting, controls: $1,000–$2,500
- Total: $11,500–$25,500
High-end installations (500–2,000+ bottles, custom millwork, wine tasting area):
- Full build-out with structural modifications: $8,000–$20,000
- Split or ducted cooling system: $5,000–$12,000
- Custom hardwood racking with display lighting: $10,000–$30,000
- Specialty finishes (stone, tile, millwork): $5,000–$15,000
- Total: $30,000–$80,000+
Timeline depends on scope. A basic conversion with an off-the-shelf cooling unit and modular racking can be completed in 2–3 weeks if the contractor isn’t juggling other jobs. Custom builds with millwork, tile, and HVAC coordination typically take 6–10 weeks from design to final commissioning.
Permits add time, 1–3 weeks for review in most areas. Electrical and mechanical work almost always require permits. Structural changes (removing walls, reinforcing floors) definitely do.
Costs fluctuate with lumber prices, HVAC equipment availability, and regional labor rates. These estimates reflect mid-2026 pricing in suburban markets. Urban areas or specialty contractors may run 20–40% higher.
Conclusion
A properly installed wine cellar protects an investment and enhances a home, but it’s not a project to wing. The difference between a functional cellar and a money pit comes down to thermal envelope details, correctly sized mechanical systems, and realistic expectations about cost and complexity. Homeowners comfortable with framing and finish work can tackle racking and cosmetics, but the cooling system, vapor barrier, and electrical work are worth hiring out. Do it right once, and the cellar will serve bottles, and their owners, for decades.