Wine is a living thing. Even after bottling, it continues to evolve, and that evolution depends entirely on the environment. Too warm, and tannins break down prematurely. Too dry, and corks shrink, letting in oxygen. Too much fluctuation, and flavor compounds degrade unpredictably. For anyone serious about storing wine beyond a few months, guesswork doesn’t cut it. A dedicated wine cellar air conditioning system isn’t a luxury, it’s the difference between a collection that matures gracefully and one that turns to vinegar. This guide walks through why climate control matters, how these systems function, and how to choose and install the right unit for a home cellar.
Key Takeaways
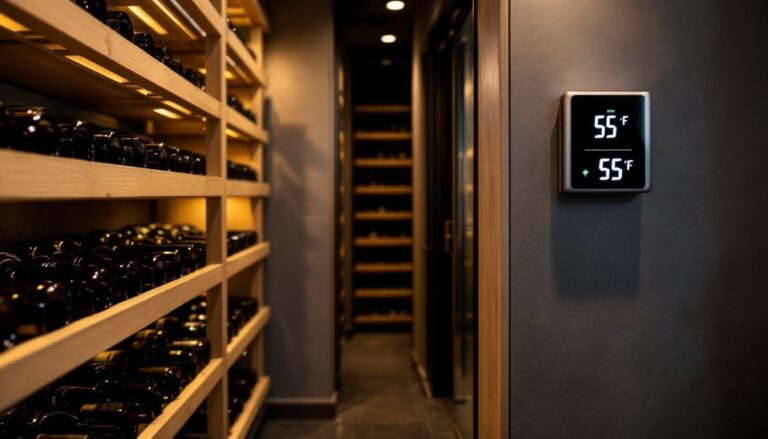
- Wine cellar air conditioning systems maintain precise temperature (55–58°F) and humidity (60–70%) to prevent premature aging, cork degradation, and oxidation that can ruin bottles worth storing for years.
- Self-contained through-the-wall units cost $1,500–$3,000 and suit most residential cellars under 1,000 bottles, while split or ducted systems offer quieter operation and better aesthetics for larger cellars but require professional installation and cost $3,500–$8,000+.
- Proper sizing based on cooling load calculations (accounting for cellar volume, insulation, heat infiltration, and lighting) is critical to avoid undersized units that burn out early or oversized units that cause temperature swings and poor humidity control.
- Temperature stability prevents expansion and contraction cycles inside bottles that push corks and allow oxygen infiltration, making a dedicated wine cellar air conditioning system far more reliable than passive insulation or standard HVAC alone.
- Installation success depends on airtight wall sealing, adequate condenser exhaust ventilation, proper electrical circuits, and a fully insulated and vapor-sealed cellar—air leaks are the most common cause of cooling system underperformance.
- Monthly filter maintenance, annual condenser coil cleaning, and professional annual service on split systems ensure long-term reliability and prevent refrigerant leaks or compressor failure.
Why Proper Climate Control Is Critical for Wine Storage
Wine thrives in a narrow band of conditions: 55–58°F and 60–70% relative humidity. Stray outside that range, and problems accumulate fast.
Heat accelerates aging. A cellar sitting at 70°F can age wine twice as fast as one at 55°F, not ideal for bottles meant to develop over a decade. Worse, temperatures above 75°F start cooking delicate aromatics, flattening complexity.
Humidity matters just as much. Too low, and natural corks dry out, shrink, and allow air into the bottle. Oxidation follows, turning wine flat or acetic. Too high, above 80%, and labels peel, mold creeps across wood racking, and musty odors permeate the space.
Temperature stability is often overlooked. Daily swings of more than a few degrees cause the wine to expand and contract inside the bottle, pushing and pulling at the cork. Over months, this “breathing” effect lets in oxygen and accelerates spoilage.
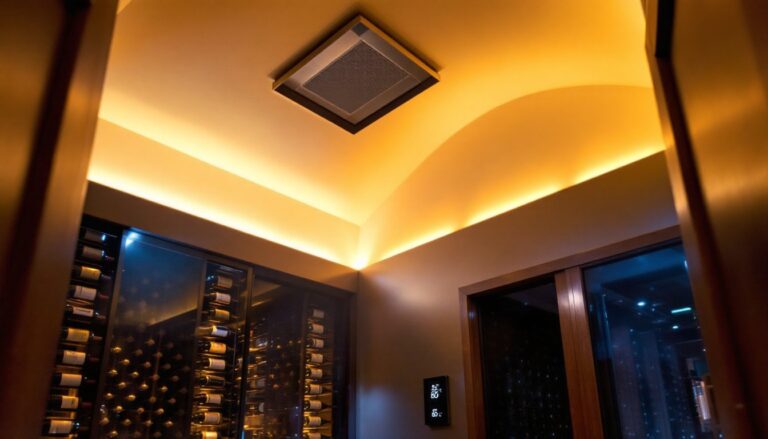
Basements and interior closets can get close to ideal conditions in some climates, but most homes see seasonal swings of 20–40°F without active cooling. Relying on passive insulation alone is a gamble. A wine cellar air conditioner removes that uncertainty, maintaining consistent temperature and humidity regardless of outdoor weather or HVAC cycles in the rest of the house.
How Wine Cellar Air Conditioning Systems Work
Unlike a standard home AC that cycles on and off to maintain comfort, wine cellar cooling units run nearly continuously at low capacity. They’re designed to hold tight tolerances, often within ±2°F, and manage humidity simultaneously.
Most units use a vapor-compression refrigeration cycle, the same principle behind household refrigerators. A compressor circulates refrigerant through an evaporator coil inside the cellar, absorbing heat and moisture. The refrigerant then moves to a condenser coil (either in the same unit or remotely located), where it releases that heat outside the cellar space.
The key difference from a window AC is the temperature range. Standard air conditioners struggle to maintain setpoints below 65°F and aren’t built to handle the constant duty cycle required for wine storage. Wine cellar units are engineered with variable-speed compressors, low-ambient controls, and humidity management features that prevent over-drying.
Many systems include integrated humidifiers or passive humidity retention through slower airflow and larger evaporator coils. Some higher-end models offer digital controls with WiFi monitoring, allowing remote adjustments and alerts if conditions drift out of range.
Proper sizing is critical. An undersized unit runs nonstop and burns out early. An oversized unit short-cycles, causing temperature swings and poor dehumidification. Calculating the correct cooling capacity (measured in BTUs per hour) requires accounting for cellar volume, insulation quality, and heat infiltration from adjacent spaces.
Types of Wine Cellar Cooling Systems
Self-Contained Cooling Units
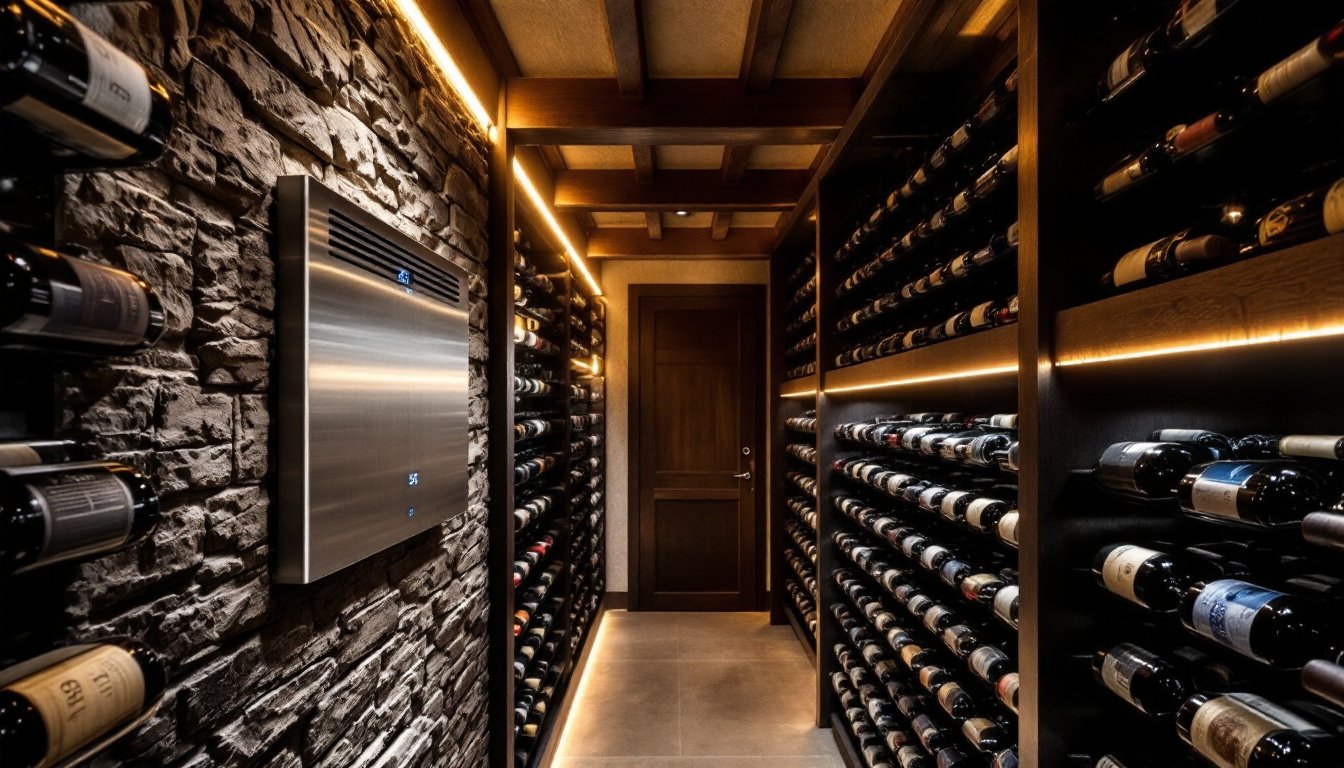
These are the workhorse option for most residential cellars under 1,000 bottles. A self-contained unit (also called a through-the-wall unit) mounts directly into the cellar wall, similar to a window AC. The evaporator side faces the cellar: the condenser exhausts into an adjacent room, garage, or exterior space.
Installation is relatively straightforward for anyone comfortable framing and cutting through drywall or a non-load-bearing wall. The opening typically needs to be 16–24 inches wide and requires access to a standard 115V or 220V outlet depending on unit size. Most units fit between standard 16-inch on-center studs, though some larger models need a custom frame.
Pros: Lower upfront cost (units start around $1,500–$3,000), easier DIY installation, and simple maintenance.
Cons: The exhaust side produces heat and noise, so the adjacent space needs adequate ventilation and shouldn’t be a living area if sound is a concern. They also create a visible penetration in the cellar wall, which some homeowners find aesthetically limiting.
Split Systems and Ducted Units
For larger cellars, display-focused spaces, or situations where through-the-wall installation isn’t feasible, a split system or ducted cooling unit offers more flexibility.
A split system separates the evaporator (inside the cellar) from the condenser (remotely located outdoors or in a mechanical room). Refrigerant lines run between the two, similar to a ductless mini-split HVAC system. This setup eliminates visible wall penetrations and allows the noisy condenser to be placed away from living areas.
Ducted units work similarly but distribute cooled air through small insulated ducts hidden in walls or ceilings. This is ideal for wine rooms built into finished basements or converted closets where aesthetics matter.
Pros: Quieter operation inside the cellar, greater design flexibility, and better performance in larger spaces (1,000+ bottles).
Cons: Higher cost ($3,500–$8,000+), professional installation typically required (refrigerant line work must be done correctly to avoid leaks), and more complex maintenance. Some jurisdictions require HVAC permits for split system installations.
Choosing the Right Size and Capacity for Your Cellar
Undersizing or oversizing a wine cellar air conditioner leads to premature failure and inconsistent conditions. Proper sizing starts with calculating cooling load, measured in BTUs per hour.
The basic formula accounts for cellar volume, insulation, and heat infiltration:
- Base load: Multiply cubic footage by a factor of 5–8 BTU/ft³ depending on insulation quality. A well-insulated cellar (R-19 walls, R-30 ceiling, insulated door with weatherstripping) uses the lower end. Poor insulation or large glass windows push toward the higher end.
- Infiltration load: Add BTUs for heat sources, exterior walls, windows, ceiling below unconditioned attic space, or adjacency to warm rooms. A cellar sharing a wall with a furnace room or kitchen needs significantly more capacity.
- Lighting load: If the cellar uses incandescent or halogen lighting, add 3.4 BTU per watt. LED lighting generates negligible heat.
As a rough guideline, a 200-cubic-foot cellar with good insulation (8×10 room with 8-foot ceilings) typically needs 1,000–1,500 BTUs. A 500-cubic-foot cellar might require 2,500–4,000 BTUs.
Most manufacturers provide online calculators, but it’s wise to verify assumptions. Measure wall cavity insulation (if accessible during construction), confirm the door is solid core with a threshold sweep, and check whether the cellar has an interior or exterior location. Exterior cellars lose more heat through foundation walls.
When in doubt, consult a wine cellar specialist or HVAC tech experienced with low-temperature applications. Standard HVAC load calculations don’t account for the precision required in wine storage.
Installation and Maintenance Best Practices
Installing a wine cellar air conditioner isn’t dramatically different from mounting a window unit, but a few details make or break long-term performance.
Framing and sealing: The unit needs a snug fit in the wall opening with no air leaks around the perimeter. Use spray foam or foam backer rod and caulk to seal gaps. Any air exchange between the cellar and the exhaust side defeats the purpose of the cooling system.
Exhaust ventilation: The condenser side must exhaust into a space with adequate airflow. A small closet without ventilation will overheat, causing the compressor to cycle off on thermal protection. If exhausting into a garage or utility room, ensure the space has passive vents or a small exhaust fan. Some installers add a duct booster fan to pull hot air away from the unit.
Electrical: Most units under 2,000 BTUs run on 115V/15A, but larger models need a dedicated 220V circuit. Check the spec sheet and confirm circuit capacity before installation. Use a licensed electrician if adding a new circuit, this work typically requires a permit.
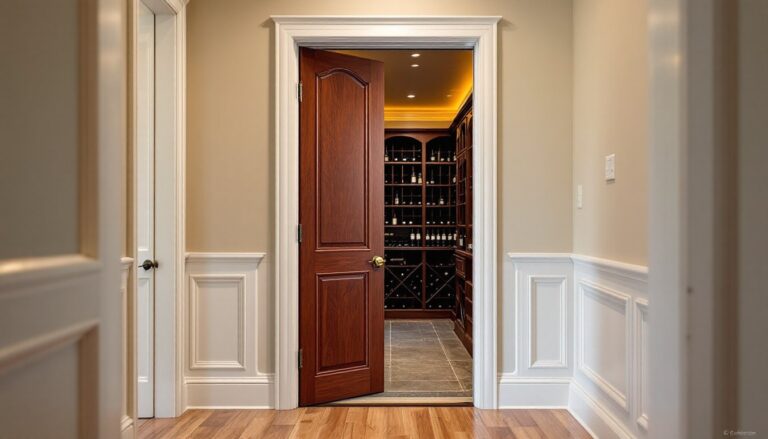
Vapor barrier and insulation: The cellar itself must be properly sealed. Install a 6-mil polyethylene vapor barrier on the warm side of the insulation (outside the cellar walls) to prevent condensation inside wall cavities. Insulate to at least R-19 in walls and R-30 in ceilings. Don’t forget the door, a solid wood or insulated steel door with weatherstripping is essential.
Maintenance: Clean or replace the air filter monthly (most units use a simple foam or mesh filter). Check the condensate drain annually: some units have a gravity drain, others evaporate condensate on the hot side. Vacuum the condenser coil yearly to remove dust and lint, which reduces efficiency. Listen for unusual noises, grinding or rattling may indicate a failing fan or compressor bearing.
If the unit struggles to hold temperature, first verify the cellar’s insulation and door seals. Air leaks are the most common cause of poor performance, not equipment failure.
For split or ducted systems, schedule annual service with an HVAC tech to check refrigerant levels and inspect line connections. Refrigerant leaks are rare but catastrophic if undetected.
Safety note: Wear gloves and safety glasses when handling or installing any cooling unit. Coil fins are sharp, and refrigerant systems operate under high pressure. Never attempt to recharge refrigerant without proper certification, it’s illegal under EPA regulations and dangerous.